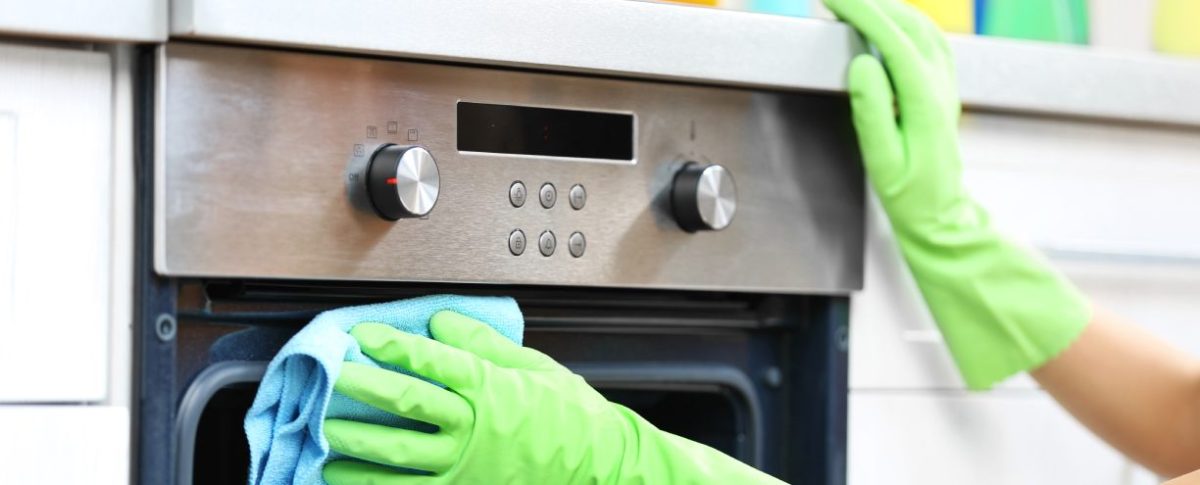
The couch is a central piece of any living room, offering a comfortable space for family and friends to gather. Over time, it can accumulate dirt, stains, and pet hair. Maintaining a clean couch is not only essential for aesthetics but also for hygiene and durability. This guide has been updated to include modern cleaning methods, eco-friendly tips, and answers to frequently asked questions to ensure your couch stays in pristine condition.
While an insurmountable number of people use certain cleaning methods like dusting or simply wiping it, these methods although seem like they clean the surface leave residual grime. Sofa Cleaning can be a thorough process that many are inept to understand if they don’t do their research.
While many decide to hire home cleaning services, which can offer sofa cleaning, there are measures one can take to upkeep your couch. These methods range from:
- Baking Soda and Vacuum
- Vacuum clean only
- White vinegar and water
- Sanitary Wipes
Once you thoroughly clean the sofa, it is critical to upkeep your couch so that your guests always feel welcomed to take a seat. For many home spaces, the couch is known as a centerpiece to any living room arrangement.
Couches are a staple in the household, there for a dirty or dusty couch will be the topic of criticism from others if not well kept. The value of a couch skyrockets after it is deep cleaned, whether you would like to eventually sell the couch or give it away, it is important to have the couch in mint condition.
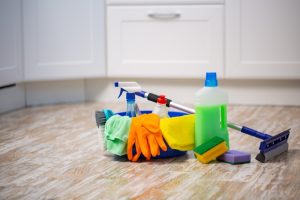
It is important to note that this works vice versa, when you purchase a couch from a colleague or friend, you may consider deep cleaning the couch for hygienic purposes. These are the tips, tricks, and tools needed to clean your home.
From vacuums, steamers, bristle brushes, and more! Here is the step by step in many ways you can win the battle against dirt, dust, and grime.
1. Review Couch Tag and Instructions
How do I find out what is the best way to clean a couch?
When many individuals first ask themselves how to clean a couch at home, a lot of questions come to mind. For example, what kind of couch is it? Leather, upholstered, velvet, cotton, etc. Some start to do their research without realizing the answer is right in front of their eyes.
The couch itself has instructions, the tag that is attached to the sofa holds the key as to how you can clean it and how you should not clean it. Some instructions are a bit difficult to understand due to the symbols and letters that the tag contains. Below is an example of an instruction tag:
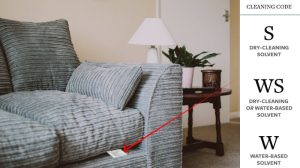
To clean a couch effectively, the first step is to identify the fabric type. Look for the care tag, which will provide essential information on what cleaning methods and products are safe to use. Here’s a quick guide to the symbols:
- W: meaning water solvent, only use a water-based detergent
- S: this means non-water solvent, only anti-water products
- WS: This means it would be okay to use either a water-based detergent or water-free detergent
- X: Dry cleaning only, no liquid cleaning. However, vacuuming is allowed.
This information is detrimental to finding out how to clean sofa, if you use a product that is not recommended in the product tag, you could end up ruining the fabric. That would mean anything from loose threads to eventual wear and tear.

You may decide to research the product and eventually come to find different solutions as to how to clean a couch properly but we recommend looking at the tag to accurately clean the couch without even so much of a loose stitch.
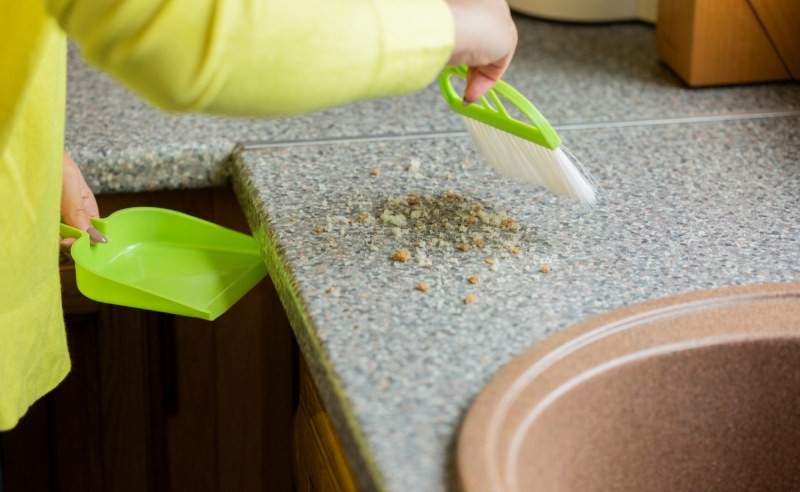
2. Vacuuming the surface
How to deep clean a couch/upholstery and remove all surface dirt?
Before you get down to the nitty-gritty, a lot of individuals miss the crucial step of removing all surface objects such as loose hairs, crumbs, and dust. If you do end up cleaning the couch without removing these micro bacteria infestations it can remain on the couch even after a wash.
Removing dust, crumbs, and pet hair is a critical step before deep cleaning. Use a vacuum cleaner with upholstery attachments to ensure thorough cleaning. For pet owners, consider investing in a vacuum designed specifically for pet hair removal. If a vacuum is unavailable, take the couch cushions outside and shake them vigorously.
That is why the best way to remove these subtle imperfections is to thoroughly vacuum the couch. For pet owners, this is a must as your pet tends to shed or leave even the smallest of bacteria or germs that can be hidden away in the creases of the sofa.
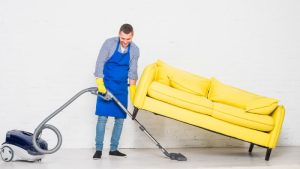
The vacuum comes with several extensions that can facilitate easier cleanings. Vacuums can be used for just about any different fabric. While many own a vacuum, some households aren’t equipped with one.
In this case, there is an alternative which would be to remove the sofa cover or cushion covers and shake it outside until all of the dust, hair, or crumbs come off completely. This will help prepare the couch for the next step on how to deep clean a couch.
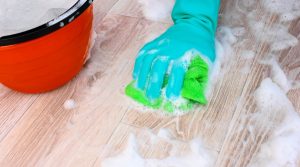
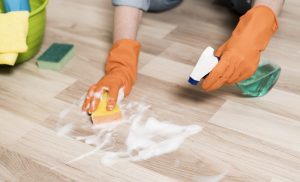
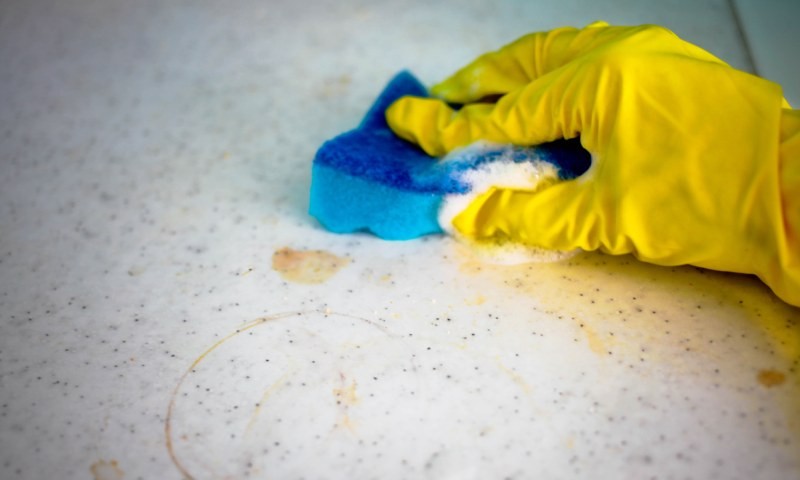
3. Remove Stains Effectively
How to remove stains from a couch?
Remember that time you shared red wine after having guests over? Hard to forget after the stain that was left on the couch that same night. We’ve all been there, leaving stains on the couch happen to even the most careful of household owners.
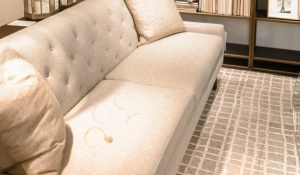
Whether it was done by another individual or yourself, removing the stain can be quite infuriating. When it comes to stains, it is important to refer to the manufacturer tag once again.
This will help us understand what kind of couch cleaner can be used. If it is a homemade cleaner, it is highly suggestible to first test the cleaner in a small area of the sofa cover for safety.
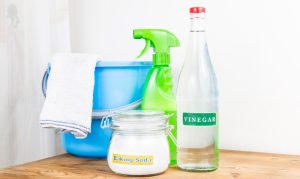
Stains are inevitable, but they don’t have to be permanent. Here’s a quick guide to treating common stains:
- – Mix 2 cups of distilled water, 1 tablespoon of dish soap, and 1 tablespoon of vinegar for general stains.
- For tougher stains, sprinkle baking soda over the area, let it sit for 20 minutes, and vacuum it off.
- Test cleaning solutions on a hidden area to ensure they don’t damage the fabric.
You will also be able to use a water solvent cleaner for leather and dry with a microfiber cloth. Now for microfiber couches, it is recommended to clean with a non-water solvent like rubbing alcohol.
Once you have removed the stains, it will be easier to clean the rest of the couch as you have targeted the problem areas right away. This leaves the rest of the couch ready for deep cleaning.
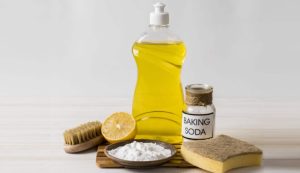
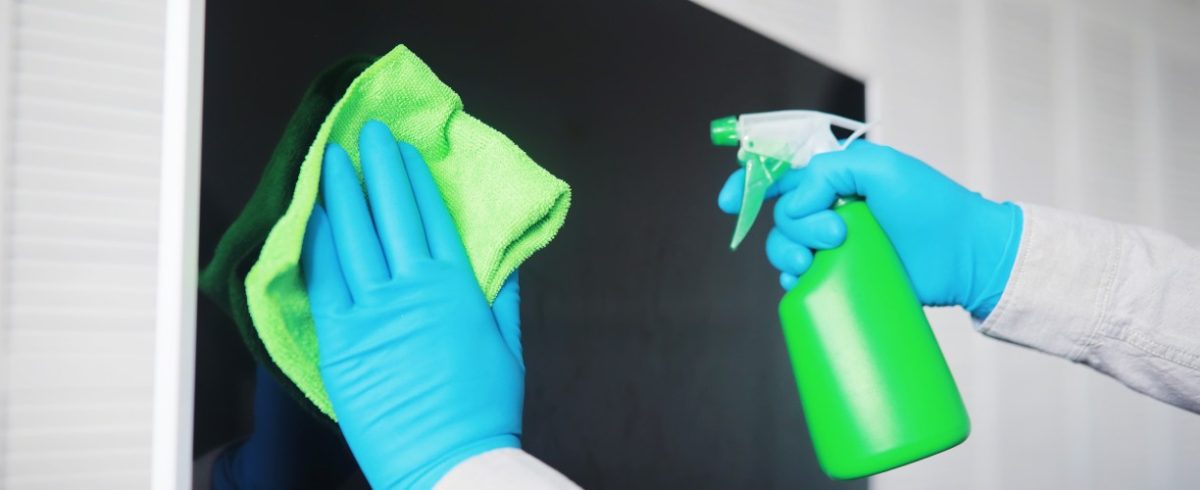
4. Use Eco-Friendly Cleaning Techniques
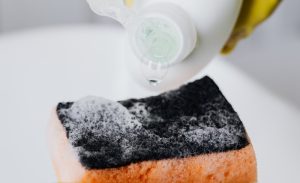
For those looking to minimize chemical use, natural cleaners like baking soda and white vinegar are excellent choices. Baking soda can also help neutralize odors. Spread a thin layer over the couch, scrub gently with a brush, and vacuum thoroughly.
5. The Magic of Baking Soda
How to deep clean a couch using baking soda:
While many have sofa cleaning products at home, for new homeowners or homeowners that are trying to be more economic they might be able to purchase these products. When thinking about how to clean upholstery, this also comes into play as many products on the market use chemical items which could prove to be dangerous to inhale.
What a lot of people fail to recognize is the simple household objects that can clean even the dirtiest of couches. One household item that serves to be extremely useful is baking soda.

As you previously read about the magic of removing stains with a concoction of baking soda, it can also be applied to the other parts of the couch. Baking soda can be used for just about every type of fabric including:
- Suede
- Cotton
- Velvet
- Leather
The use of baking soda can also help remove the repugnant odor that your couch may be emitting. As is the case if someone owns a pet or has bought a couch from a thrift store or friend, couches will eventually start to let out an odor that can be off-putting.
Some homeowners end up using air fresheners or other fragrances to cover the odor, however with baking soda which absorbs the smell entirely. Using a thin layer of baking soda to cover the couch and then scrubbing away with a cleaning brush as well as water will remove just about any dirt, grime, chemicals, and other products.
6. Next up – the cushions and other couch accessories
How to clean couch cushions?
Now that you’ve scaled the couch with the baking soda material, next it is time for the cushions. The cushions are an important part of the couch as it is used for guests to get more comfortable. This would mean that the cushions can be the dirtiest part of the couch due to its overuse.

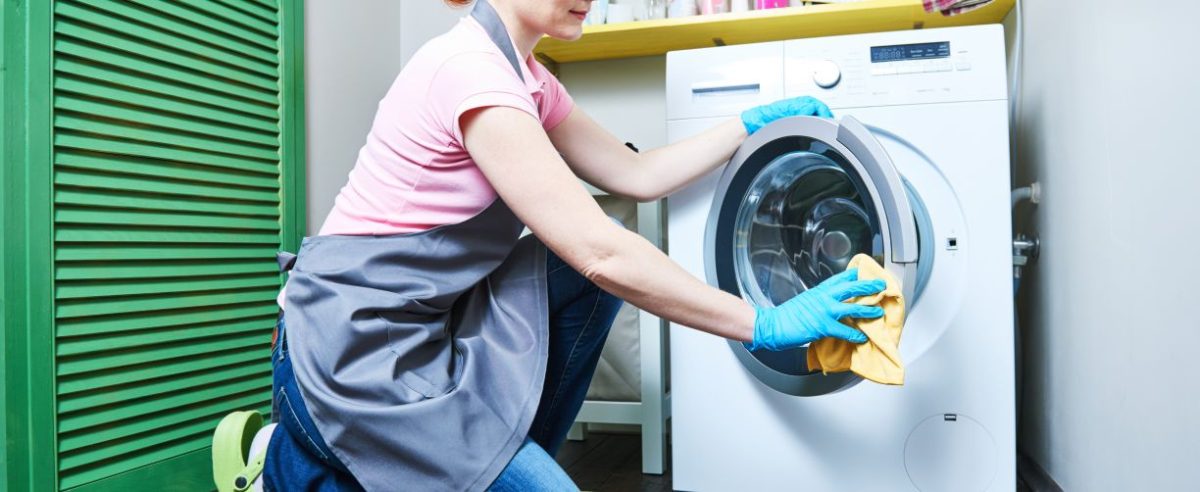
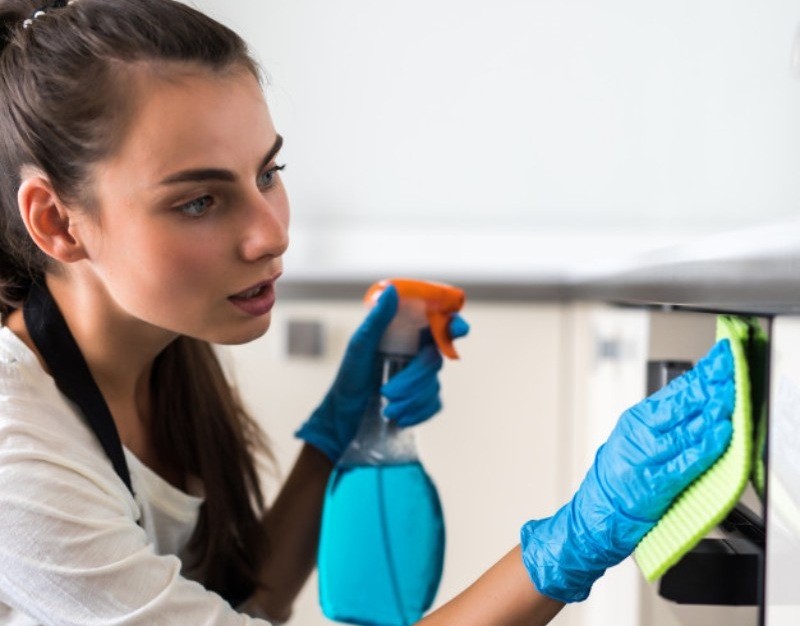
Cushions tend to accumulate the most dirt and grime. For removable cushion covers, check if they are machine washable. Use a gentle cycle with mild detergent and air dry to prevent shrinkage. Non-removable cushions can be spot-cleaned using a damp cloth and appropriate cleaning solutions.
Including the stain removal process which includes baking soda, distilled water, and vinegar. You can even wash them in the laundry if the manufacturer label permits. However, make sure to use a gentle cycle to protect colors and fabric.
When it comes to non-removable cushions, it is advised to request home cleaning services. If you aren’t equipped economically to request home cleaning services, the other options are:
- Steam Clean, allows for both vacuum and cleansing at the same time
- Creating a wet paste from detergent and water, then rubbing off with a wet sponge
- Beat the fabric outside with a broomstick or any other stick-like object
The wet paste option also works remarkably well for stains if your cushions have them.
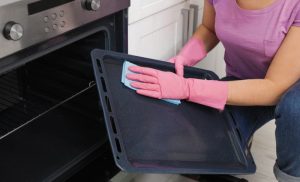
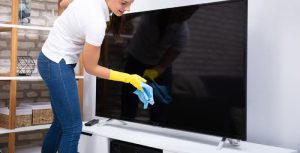
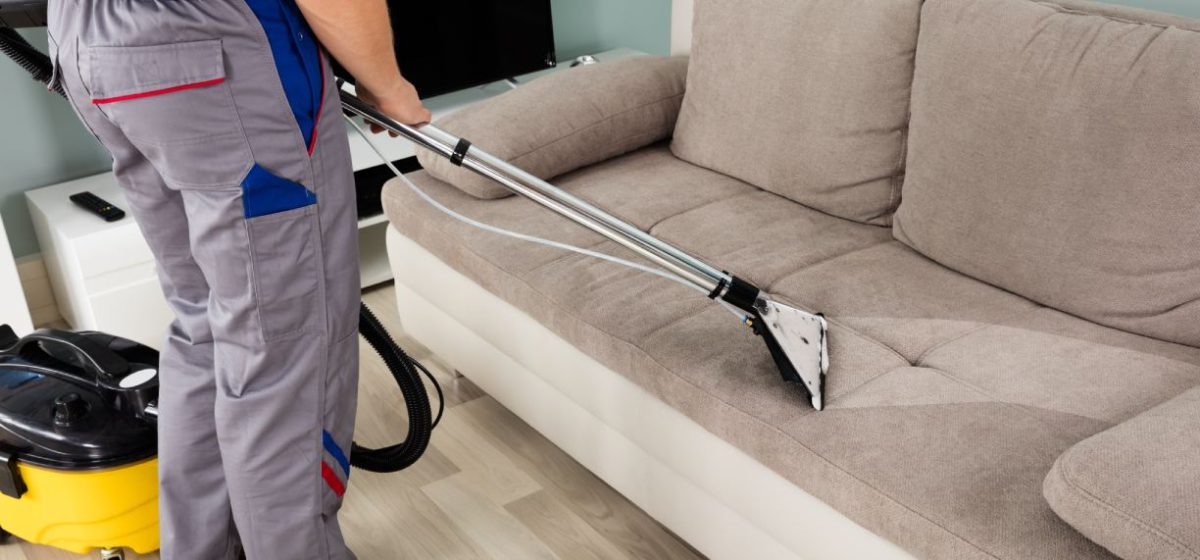
7. Steam Clean
How to steam clean the couch:
While some fabric can be cleaned with baking soda and vinegar, some options can make cleaning your couch a smooth process. Steam cleaning the couch is a slightly less difficult process due to its convenience as it uses vapor to clean.
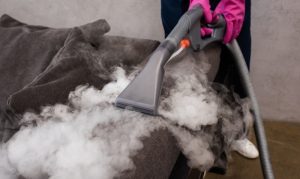
This process not only aids complete sanitization and removal of bacteria but also without the help of chemicals making it a more organic procedure. Steam cleaning involves using high temperatures which helps break down dirt, this in turn aids in illuminating the fabric colors.
Steam cleaning is an effective way to sanitize and brighten your couch. Use a steam cleaner compatible with your couch’s fabric. Always test the steam cleaner on a hidden area first. Remember to change the microfiber cloth frequently to avoid redistributing dirt.
To find out if you can steam clean your couch’s fabric, it is advisable to first look at the manufacturer tag. If the tag reads W or WS, which means you can use a water solvent, then it is safe to steam clean as it uses water properties for steaming. For steam cleaning, you will need to pay heed to the following steps:
- You will first need to vacuum the sofa to remove any dust, debris, or small crumbs that the couch may have. When vacuuming it is advised to use the cushioning attachment for accuracy and efficient cleaning.
- Before beginning to steam clean, review the manufacturer guide and make sure that that the steam cleaner is at the appropriate settings for the fabric as well as any attachments needed are being used. This typically tends to include a microfiber cloth.
- Next, you will test drive the steam cleaner on a small area that is not conspicuous or in everyone’s line of vision. Wait for 15 minutes until it is completely dry to review the area and make sure that the fabric has not been damaged with the settings used.
- If the small area was properly executed and the fabric is now spotless, you will be able to clean the rest of the couch.
- It is recommended to continuously change the microfiber cloth throughout the cleaning as it can accumulate dirt during the cleaning process.
- Once you are done, to speed up the drying process you can use a fan or if you aren’t in rush you can wait until it is completely dry and enjoy a cleansed couch.
- As a safety precaution, we advise waiting until the water in the steam cleaner is completely cool to dump it out.
Now that you know how to steam clean, you are ready to maximize your couch experience with beautifully polished furniture that will continue to impress guests.
8. Drying and Reaping the Rewards
How long does the drying process take, can it be sped up?
Now that the hard part is out of the way, the last step in cleaning is simply to let the couch fabric, cushions, and other couch attachments dry completely before sitting down.
After cleaning, ensure the couch is completely dry to prevent mold growth. Use a fan or place the couch in a well-ventilated area. For long-term maintenance, vacuum the couch weekly and address stains immediately.
This could ultimately take some time; we recommend using a fan or airing out the fabric in clean dry air in the patio (if the homeowner has one).
The importance of maintaining a clean couch goes beyond its impressionable aesthetic conclusion, it is part of a hygienic routine.What many people fail to understand is, the dirtier the couch is the more likely it could become a detriment to your overall health.
Individuals with asthmatic symptoms, the elderly, and children can easily be affected due to the dirt or debris the couch can hold. The best part of cleaning the couch is the aftermath. Now you can sit down and binge on that new Netflix series with the comfort of a beautifully sanitized couch.
Frequently Asked Questions (FAQs)
Q: How often should I deep clean my couch?
A: Ideally, deep clean your couch every 6-12 months, or more frequently if you have pets or children.
Q: What’s the best way to remove odors from a couch?
A: Sprinkle baking soda over the couch, let it sit for 30 minutes, and vacuum it off. For persistent odors, use a fabric-safe deodorizer.
Keeping your couch clean not only enhances its appearance but also extends its lifespan. With these updated tips and techniques, you can ensure your couch remains a comfortable and inviting centerpiece for your home.