If you have the blues because you know your Spring Cleaning needs to happen and you’re not looking forward to it, we understand. The reason most people dread Spring Cleaning include the following reasons:
- They’re not prepared
- They don’t know where to start
- They hate using their free time
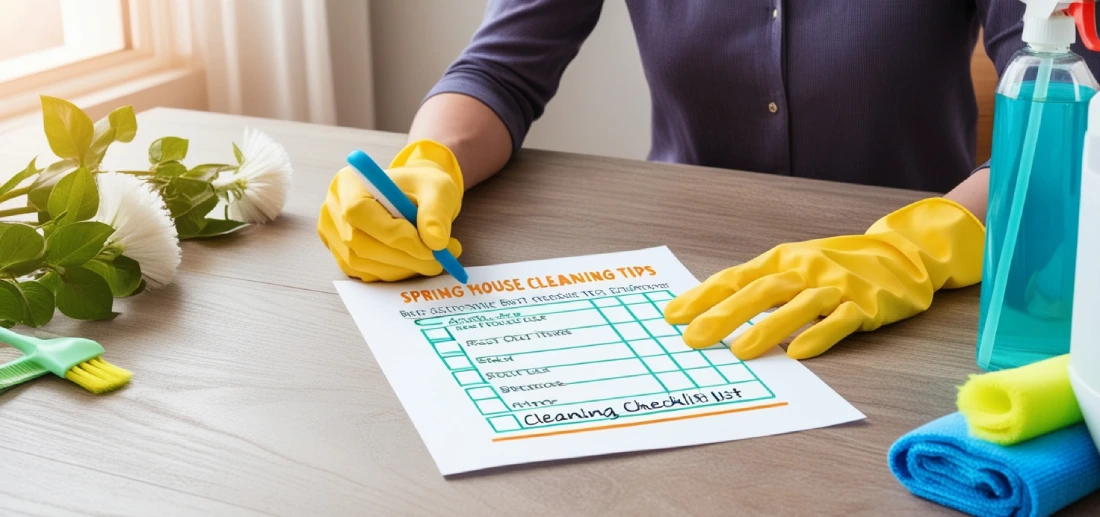
The good news is when you have a clear plan of what needs to be done and how you’re going to do it, Spring Cleaning is much more manageable. In this article, we’re going to provide you with our ultimate Spring Cleaning checklist to help conquer your cleaning this year. By the time you’re done reading, you should feel much less stressed out. So without further delay, let’s jump into our Spring Cleaning tips!
1. Determine which rooms and areas you want to clean
This is the most important step before you start cleaning. While some people think they need to clean every room and area, this isn’t always true. You want to focus on the areas that both haven’t been cleaned in a while, and get the dirtiest.
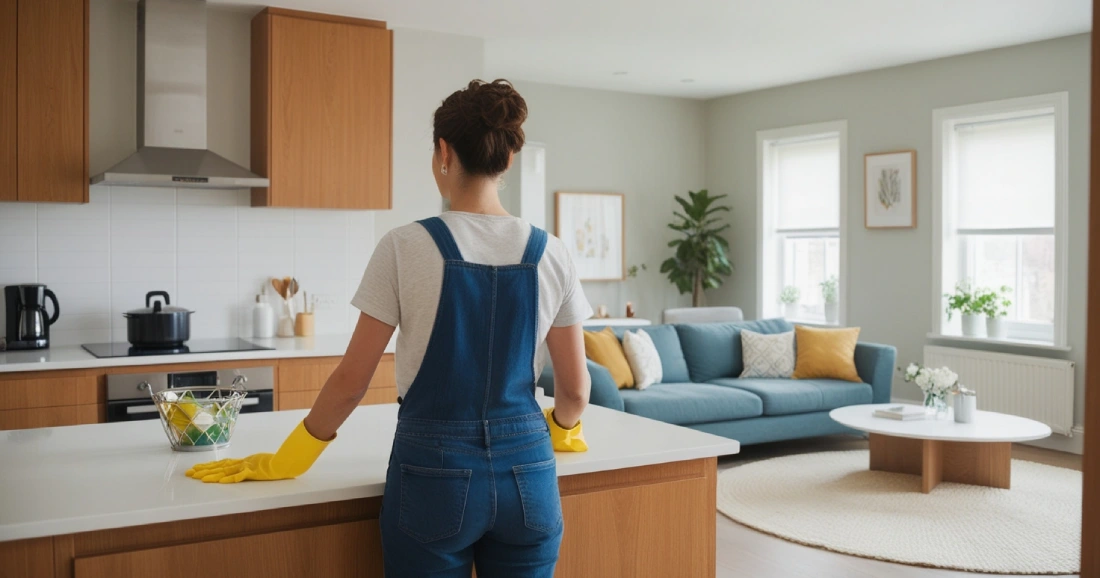
Areas you probably want to clean will include the kitchen, main bathroom and living room. Areas you might hold off on, or at least do a minimal cleaning in, include guest rooms, offices that don’t get used a lot, or a powder room.
One you’ve determined which rooms you want to focus on, write them down as a list in a notepad and move on to step 2:
2. Prioritize your rooms from critical to less critical
The easiest way to do this is by considering the following questions and then adding a number between 1 and 10 to it (1 being lowest priority and 10 being highest priority)
- My family spends a lot of time in this area (1 to 10)
- This area has been neglected in cleaning (1 to 10)
- This area has more items not cleaned than have been cleaned (1 to 10)
- This area is more dirty (1 to 10)
Next, add up the scores for each room. Whichever room received the highest score, start with that one.

Some people might think this is a waste of time. They prefer just jumping in, focusing on every room and not looking back. This might work for a select few, but we’ve found that for most people, prioritizing your rooms and starting with the most critical works better. In the long run, you will feel more paced, more motivated and more accomplished.
3. Decide on the list of tasks you want cleaned in each area
What tasks you decide to work on is completely up to you. Normally you want to tackle items that are the most dust, dirty, scummy and greasy. Don’t feel like you have to clean EVERY item down.
One client that hired us for her spring cleaning asked if we thought it was worth wiping down all the china in her dining room credenza. But after we inspected a few plates, it was obvious her credenza did a great job of protecting her dishes from accumulating dust so we recommended against it.
On the other hand, some items or tasks will need to be addressed differently from each other. For example, your oven’s bottom storage drawer is probably a hot spot for crumbs and will need to be wiped out. On the other hand, your pots and pans cabinet probably won’t have a lot of crumbs to clean, but it might need some organizing. Don’t be afraid to spend a few minutes evaluating what tasks you want to address, and how you’re going to do it.
4. Develop a strategy for how you’ll tackle cleaning
The good news is you already have a pretty good strategy of what areas you’re going to clean and how. Next, you need to organize all of this onto a separate checklist and call it your Game Plan. The best cleaning Game Plan includes providing answers to the following questions:
- What rooms will I start in first?
- Which tasks in each room needs cleaning?
- What’s the estimated time I want to spend in this room?
- What’s the estimated time I want to spend on each task?
- What day this month do I want to start?
A good cleaning strategy also includes thinking through what supplies you’ll need, which leads us to point 5:
5. Make sure you have the correct supplies and equipment
Below is our list of products and supplies that will help assist you in cleaning:
- Magic erasers
- Krud Kutter Grease Remover
- Multi-purpose disinfectant
- BORAX or AJAX
- Scour pads
- Lots of microfiber or cotton cloths
- Swiffer Duster for high up fixtures and furniture
- Dusting Mitt for lower furniture
- Wood polish and cotton rags
- Vacuum with hose and attachments
- Swivel head microfiber mop
- A grout brush for getting into cracks and crevices
You can also visit Speed Cleaning, which provides an exhaustive list of products and supplies in case you need help thinking of more products you’ll need.
6. Use a “Grid” system for cleaning particularly cluttered surfaces
One of the most dreaded parts of cleaning is lifting up clutter from bookshelves, desks or other furniture. To help make this process easier, pretend that the surface has a grid overlaying it. Then, focus on cleaning one part of the grid at a time.

The reason this is so effective is because you can remove items from their surface one at a time, clean that area of the grid, then put the items back. For some people this is so much more effective and less stressful than removing ALL of the items from a bookshelf at once and then trying to remember where everything goes again.
If you find that this system makes cleaning more complicated, no worries. Find the groove that works best for you!
7. Work in a clockwise pattern around each room
To help you keep pace as you clean, we recommend cleaning a room clockwise by cleaning all the areas on the outer parts of the room first, then working your way inward.
This will make cleaning much more easier than if you were to randomly jump from one task to another.
It’s also helpful to keep pace because you can gauge your progress better. If you finished cleaning one entire side of the living room, you can tell yourself you’ve already accomplished 20% of the cleaning. When you can measure your progress, it helps reduce stress and increase motivation.
BONUS TIPS!
We wanted to throw in a few extra tips to help making your spring cleaning even more successful!
8. Start cleaning from top to bottom
Whether you’re wiping surfaces or dusting, dirt and dust will always make their way downward. One big mistake people make is they start with a lower area like cleaning the kitchen counter tops, then they begin dusting light fixtures or cleaning out the upper cabinets.
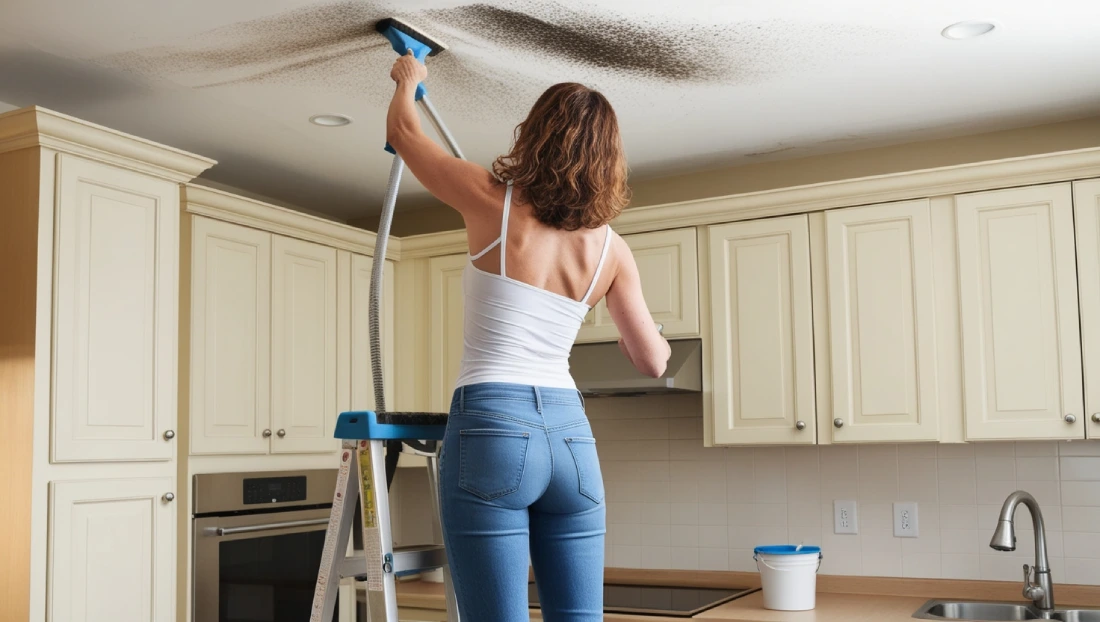
This will make your previously cleaned areas dirty again, and create double work.
If you start from top to bottom though, you ensure all the crumbs and dust make their way downward, allowing you to follow them gradually with your rag or duster without creating more work for yourself.
9. Life saver tips to make cleaning less detestable
Below is a short list of just a few things you can do to make the cleaning process less of a headache:
-
- Wear a face mask
Especially if you’re spending a lot of time dusting. Airborne dust can cause respiratory irritation so having a mask will help you breathe easier. - Wear knee pads
This is especially helpful if you’re cleaning our lower cabinets, wiping down baseboards or scrubbing a tub or shower. - Keep a water bottle with you
Without even realizing it, your body burns a lot of liquid when you clean. Keep a water bottle near you so you can easily replenish fluids and keep your strength up. - Listen to your favorite music
Listening to your favorite jams not only helps keep your attitude positive, it also helps keep you paced. - Take breaks to eat healthy snack
Don’t wait for lunch to munch on something. Try to eat a healthy snack at least every hour. Apples, baby carrots, cheese sticks, nuts or granola bars are all fast, easy snacks to help keep your strength up.
- Wear a face mask
10. Put fans in windows to control airborne dust
Chances are if you’re doing a lot of dusting, you will have a much higher level of dust floating around the air. To help reduce the level of airborne dust, consider taking a few box fans, propping them up in different windows in your house, and pointing the air toward the outside.

Many home builders point powerful fans outward to help reduce the level of sawdust and building materials in the air, and using box fans in your windows will help improve your air quality too!
Maintaining your home throughout the year
Reducing the amount of work required for your Spring Cleaning depends a lot on how often you stay on top of your house cleaning throughout the year. You’ll want to focus on cleaning the high traffic areas in your home and doing a maintenance cleaning at least once per week.
Don’t have time to do the spring cleaning yourself?
Some clients simply prefer to use their time and energy doing the things they love most like spending time with family, getting out of town or working on their hobbies. If you’d prefer to look into hiring a house cleaner, we’re the company to choose!
Simply contact our friendly customer service team and we would be happy to schedule a free walk through and provide you a quote!