One thing about dirt is that it can be invisible to the naked eye. That you don’t see it doesn’t make it non-existent, and unfortunately, dirt is all over your house, across various items and places. However, some items in your home are dirtier than others, and identifying them is a critical step to limiting the health challenges they can cause.
This article is a home cleaning guide, but beams the spotlight on 10 of the dirtiest items in your home and some cleaning tips for dirty items. Without further ado, let’s hop right into these items.
1. Dish Towels
No item could be dirtier than the one used to clean filthy hands and surfaces regularly. But dish towels are even used for several other purposes, such as dry-cleaning dishes due to their high absorbent properties and cleaning off spills on various surfaces, making them a warehouse of germs and bacteria.

Thus, washing them regularly is critical to staying away from the germs that they harbor. Wash them daily with hot water and a powerful detergent to kill the bacteria in them. Meanwhile, ensure they are dry before reusing them – wet fabrics breed bacteria faster.
2. Bathroom Faucet Handles
You rotate these handles of faucets to produce water each time you want to wash your hands, dirty hands in particular. And it’s easy to forget that you rubbed off some of the dirt on the faucets while turning them on.
Keep your bathroom faucet handles always clean and safe for use by wiping them with a disinfectant cloth or washing them with a soft fabric dipped in a detergent solution.
3. Light Switches
Light switches are often ignored during cleanup routines in most homes because they appear negligible, and sometimes, it doesn’t even cross the mind of the cleaner that this item deserves attention.
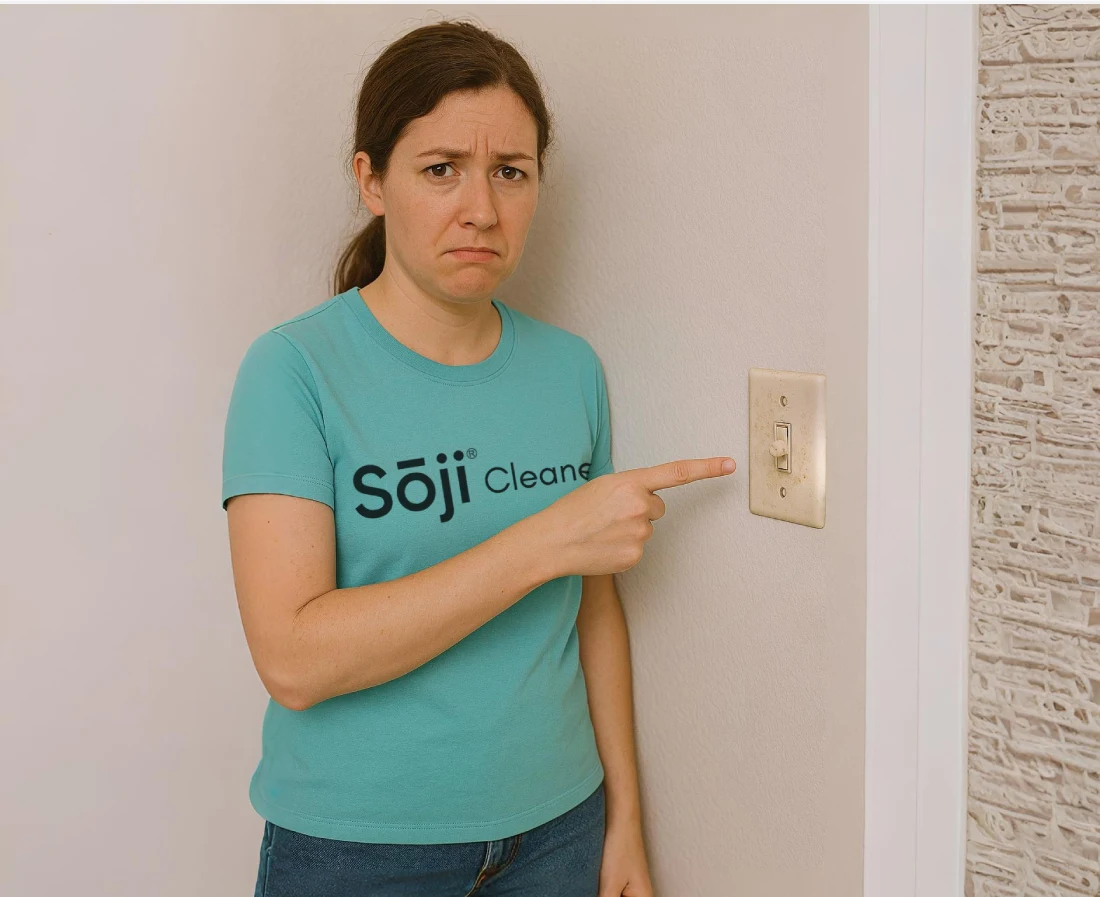
But several hands use these switches daily, including those hands that touch pet litter or raw meat before rushing to turn off a light switch.
A soft microfiber cloth dampened with detergent can effectively clean light switches and make them safer for the next user.
4. Cutting Boards
Cutting boards are used in cutting various food products, ranging from vegetables to raw meat. They will, over time, become a storehouse for germs, especially those small cuts in the wooden boards.
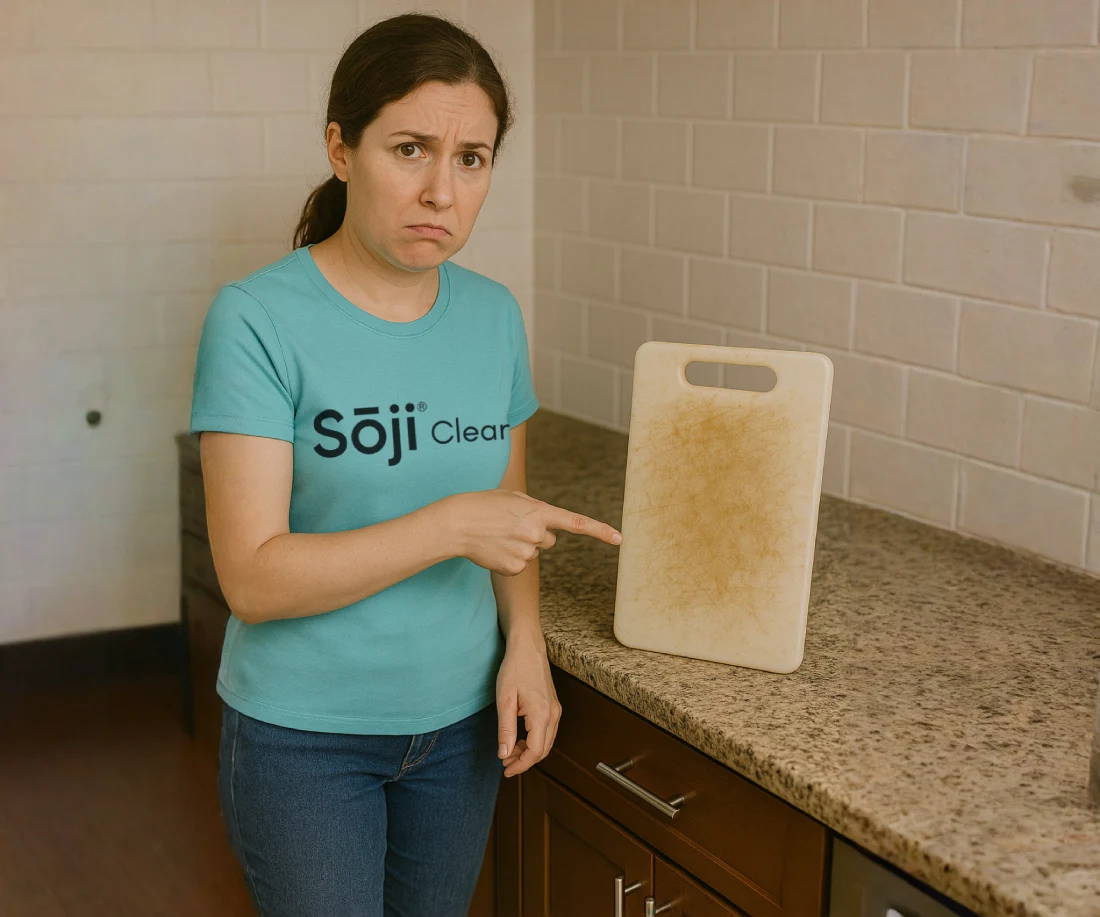
Wash your wooden boards with soap or detergent after every usage. And if you’re using a plastic cutting board, it can easily fit into the dishwasher.
5. Mobile Phones
If there’s a winner for the dirtiest items in any house, mobile phones will win effortlessly while leaving the runner-up a considerable distance behind. We are addicted to phones; we use them in the toilet, while disposing of trash, when catering to pets, and virtually during every activity that permits the use of one hand.

Your mobile phone could be dirtier than your toilet seat, and you should regularly use disinfecting wipes to clean the screen, the back, and the casing if you use one.
6. Remote Controls
The remote controls, from the TV remote to the one assigned for the air conditioner, are some of the dirtiest items in your home. However, they are entirely ignored in every cleaning process within the home. Several hands within your household touch these remote controls almost every day, including your visitors after you’ve announced that they can feel at home.
With too many hands having endless impacts on an object, the risk of germs and bacteria building up on that object increases significantly. To stay safe, use a disinfectant wipe to clean your remote controls every morning. You can use a cotton swab drenched in alcohol to work your way around the buttons.
7. Door Knobs/Handles
The doorknob on the door of the main entrance to your sitting room is one of the dirtiest items in your home, and it’s easy to see why. Every visitor comes through that door and twists or turns the doorknob/handle.
You have no idea where those hands have been before turning your doorknob, but you can protect yourself from the germs they host. Do this by cleaning the doorknob/handles of your home with a microfiber cloth and disinfecting wipes.
8. Reusable Shopping Bags
Those shopping bags you fail to discard after one or two shopping sprees due to their reusability are breeding germs right under your nose. Germs and bacteria are everywhere, even inside your latest shopping products. And the chances of their presence are higher in those bags you use to carry moist products.
You can discard these bags after using them the first time, but if you must reuse them on your next shopping trip, wash their interiors with soap and water. A washing machine can also do the job excellently.
9. Chair Handles
Placing one or both hands on the handles of a chair is a reflex action that most people don’t even think about. Those hands can introduce dirt and germs onto the handles, and likewise, contact germs from the surfaces.
Therefore, wipe wooden and metal chair handles regularly with disinfectant wipes.
10. Kitchen Sinks
Most dirty water from the kitchen has no other disposal channel but the sink. When you wash the dishes or dirty water flows through the sink, dirt residues will cling to the stainless surface, particularly around the sink drain.
Wash your kitchen sink using your favorite cleaning solution and a soft sponge or microfiber cloth after every use. Sanitize it afterward with a kitchen cleaner.
Wrapping Up
Dirt and germs are everywhere, and this article exposes the top 10 items that harbor them most in your home. Some may be surprising to you because you’ve never given them a thought.
While you may never completely avoid germs in your home, you could try reducing them to a bare minimum by understanding how to clean household items and sticking to some of the cleaning tips for dirty items in this guide.
Getting professional home cleaning services may not handle the cleanliness of these areas, at least no one will clean your phone. So, it’s ideal to consider these items when next you’re cleaning your home.
If you are, however, looking for a thorough cleaning job that will address all identified areas without leaving any section untouched, Soji Cleaners is the answer. You can book your house cleaning services with us, and our service pros will be glad to make your home sparkling clean.