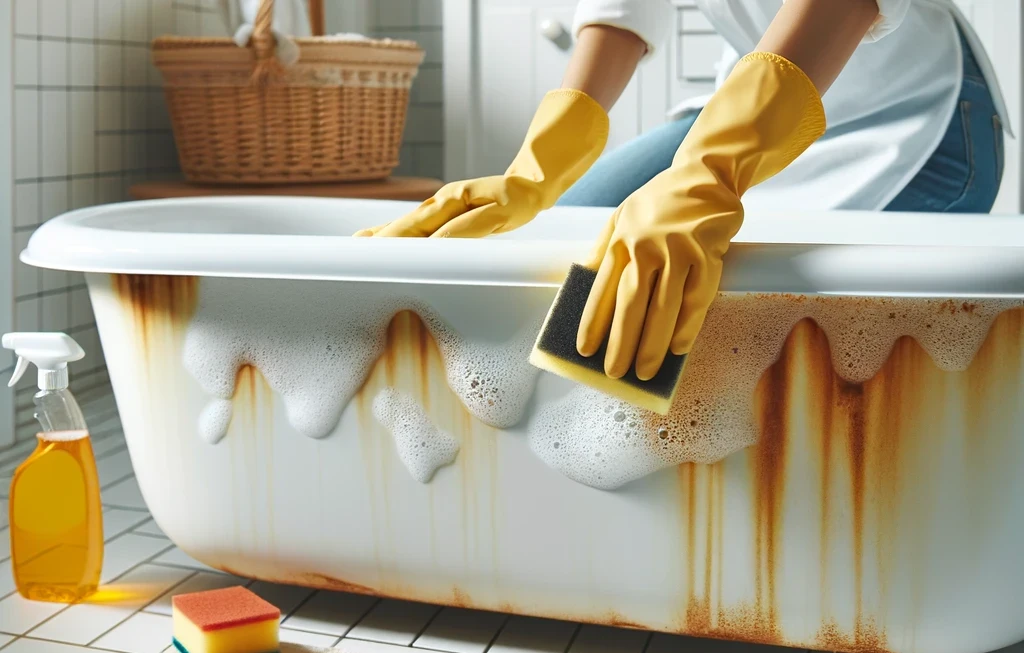
There is nothing better than running a hot bath after the end of a long day and relaxing. Whether you are exhausted, not feeling well or just fancy a long soak. A well-used bath, however, does run the risk of developing some rust underneath the taps.
At Soji Cleaners, we are experts at stain removal. It can be difficult to know how to remove rust stains from bathtubs, but we have some top tips to help you out. Many of these methods will not only help you get rid of the rust but will leave your bath dirt and grime-free and sparking clean.
How Do Rust Stains Happen
Rust stains are a very common problem that can impact many areas in your home. One of the most common locations is sinks and bathtubs as this is where there are metal features around water.
Moisture mixing with taps, or metal objects in the area leads the metal to oxidize and cause rust marks. Rust leaves orange stains underneath the metal which can look unsightly. Let’s take a closer look at how to get orange rust out of bathtubs:
How To Get Rust Stains Out of A Bathtub
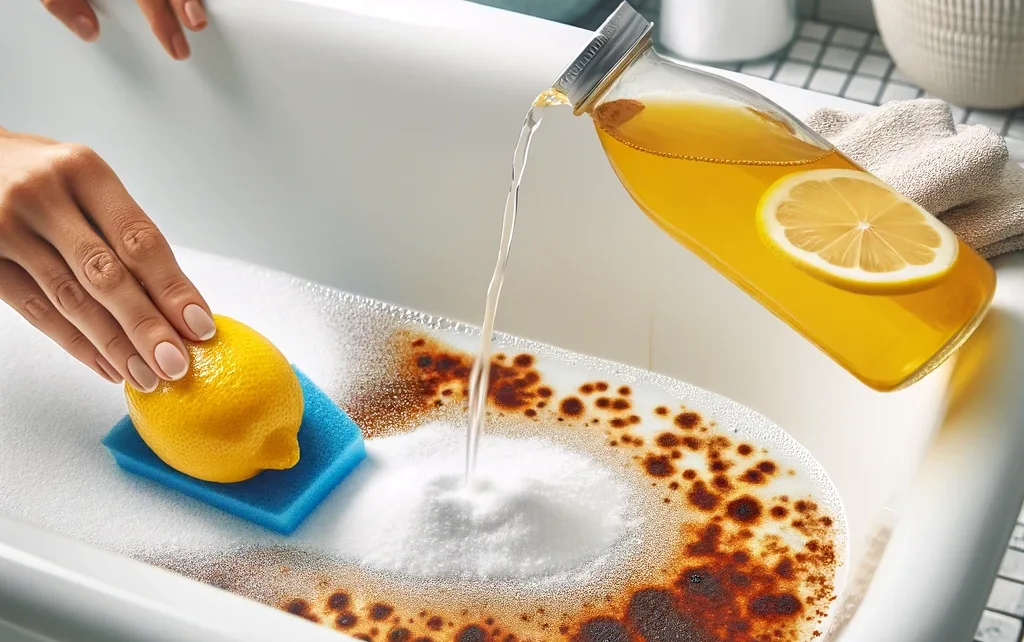
Lemon and Salt Scrub
What You Need:
- Lemon Juice
- Table Salt
- Sponge
If you are looking for an environmentally friendly cleaning option without the use of harsh chemicals, choose simple but effective solutions like lemon and salt.
These naturally occurring cleaners have great stain-removal power. Mix together lemon juice (from a lemon or bottle) with salt to create a thick paste. This paste can then be used on areas with rust – apply a thick coating and leave for a few hours to break down the rust. Once time has passed, scrub the area with a sponge to help remove the rust and rinse the area thoroughly with water.
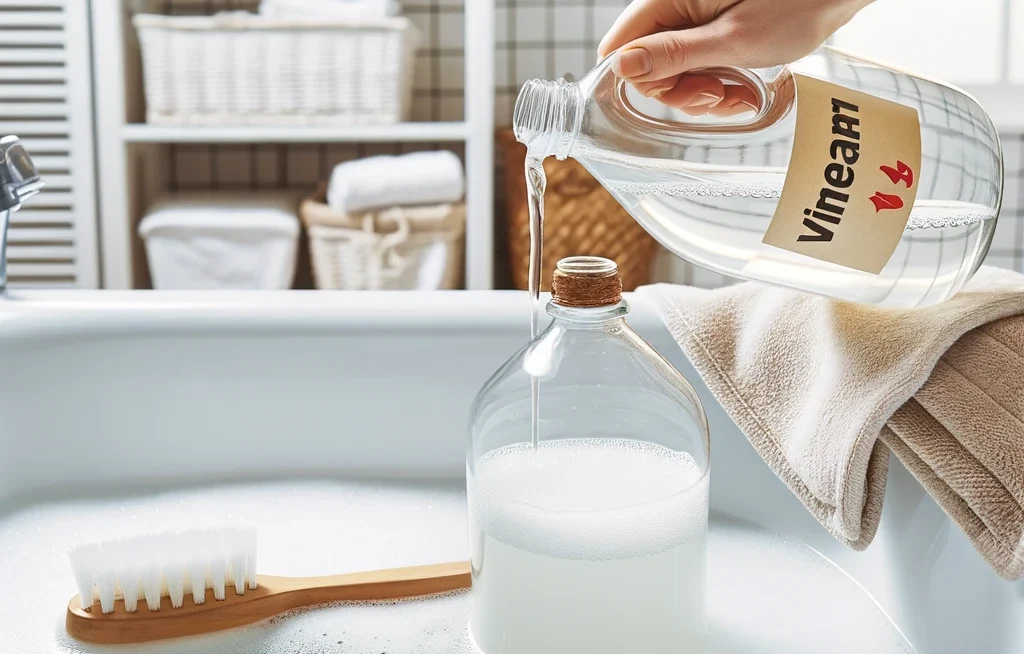
Vinegar Soak
What You Need:
- White Vinegar
- Sponge
- Water
White vinegar is great for cleaning due to its acidic levels, which help break down tricky stains including rust. With white vinegar, the bathtub will need to soak, so fill it with warm water and add a large amount of white vinegar.
Leave this solution for several hours (we recommend overnight) to let the vinegar do its magic and begin to break down the rust. After you have soaked it, the water can be drained. Use a sponge to wipe away any leftover residue. After this process has been completed, rinse your tub out with water and enjoy a rust-free soak.
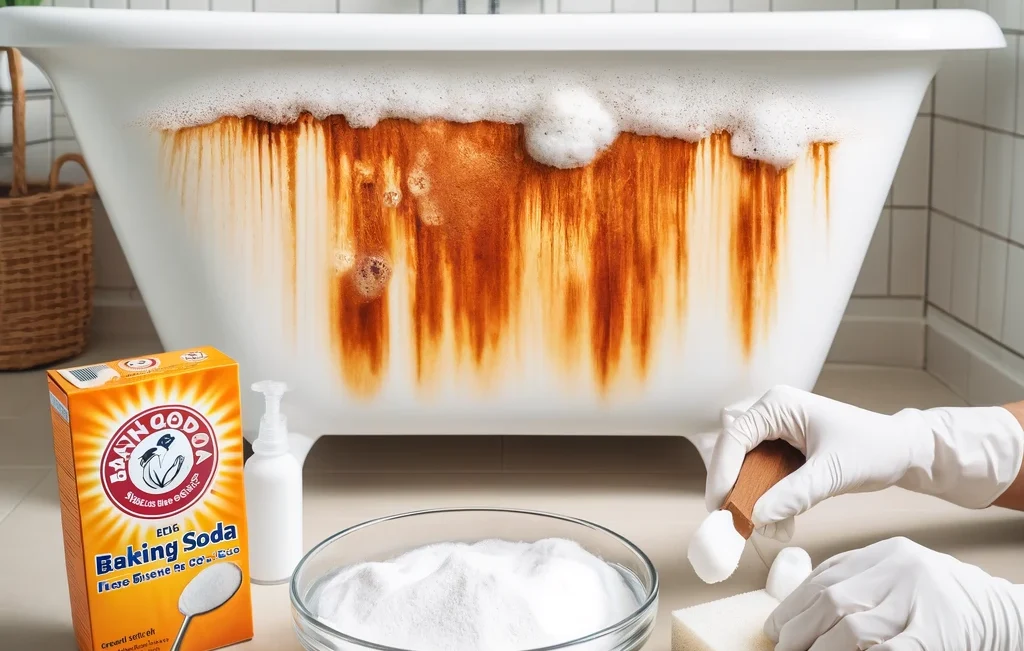
Baking Soda Paste
 What You Need:
- Baking Soda
- Water
- Sponge
If you are thinking about how to remove rust from enamel tubs, another great cleaner that can be found in our kitchen cupboards is baking soda. Baking soda is a magic ingredient that has many uses and is great for cleaning rust. Like with the lemon and salt above, to use baking soda effectively you need to make a paste. Mix baking soda with water until it forms a thick paste.
The paste should be applied to the rust stains that you are trying to remove in a thick layer, ensuring all parts are covered. Leave the paste for an hour to allow it to soak. Use a sponge and a little bit of elbow grease to scrub the surface strongly, then rinse off the paste with water.
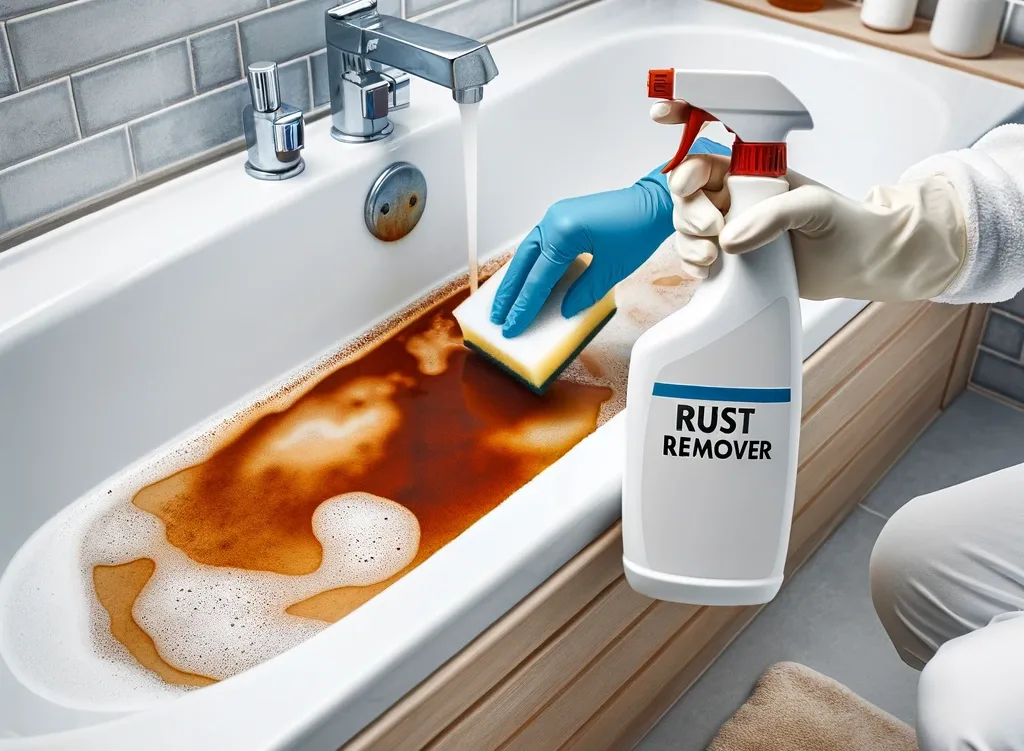
Commercial Rust Removers
What You Need:
- Chemical Rust Remover
- Protective Gloves
- Sponge
Some rust stains may be so severe that traditional methods of removing them are not powerful enough. There are, however, several chemical commercial removers on the market. These are formulated to get rid of those tricky, rust stains but should be used carefully.
Make sure that you follow the instructions on the bottle carefully to get the best results possible. As many of these cleaners contain harsh chemicals, we recommend using gloves to ensure that your skin is protected. On top of this, open windows and doors to create ventilation in the room so that you don’t breathe in harmful chemicals.
How To Prevent Rust in your Bathtub
Now that you have a clean bathtub, or if you have purchased a new bath for your home, it is important to try and stop rust from developing in the first place. There are several different ways you can try and avoid this.
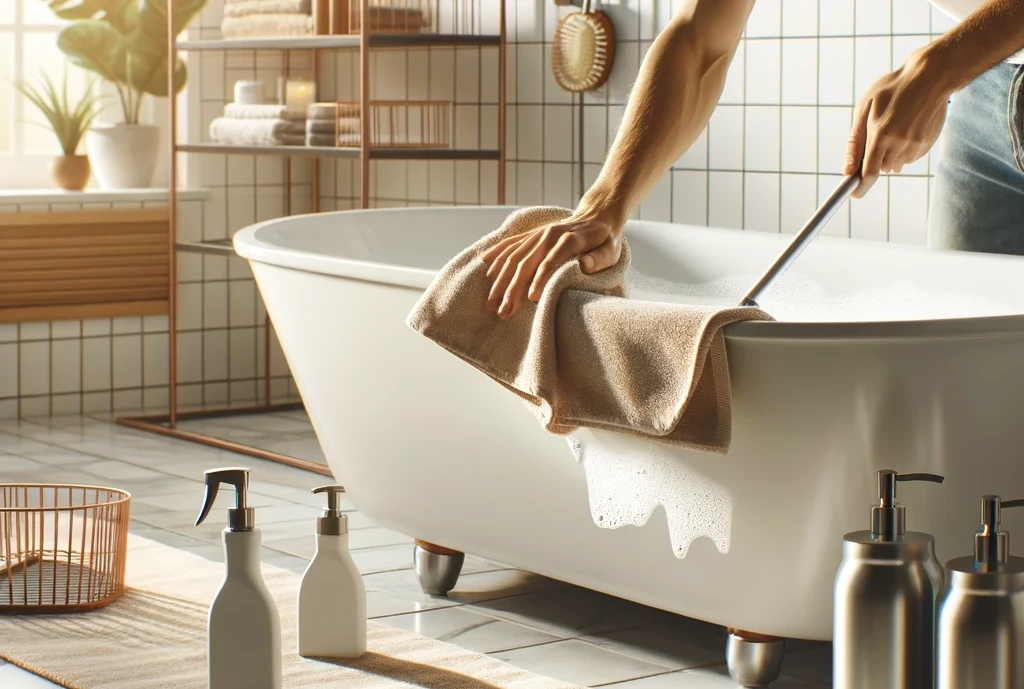
One of the best ways to avoid rust is to wipe down the bath with a towel after use so that it is dry. Ensure that you don’t leave any metal on or around your bathtub that could rust over time – this includes bath racks or metal shampoo bottles. Store these in a dry place and only add to your bath when in use.
Clean your bath regularly with standard cleaning products to make sure that the rust does not build up over time. Hiring a professional cleaner to do a weekly residential clean if you are busy, saves you both time and money in the long run as it stops issues such as rust from becoming a problem in your home.
Leave it to the Experts at Soji Cleaners
If cleaning your rust stains, or cleaning your home in general becomes a little too much or you don’t have the time to deal with them, that is where we come in. Here at Soji Cleaners, our expert cleaning team are on hand to help you with all your cleaning needs.
We take pride in our work and provide a unique, tailored home cleaning service to suit your needs. Whether you are looking for a regular weekly clean, one-off deep clean or specialist cleaning such as grout or carpet cleaning, we can help. If you have any questions, our friendly and experienced team are on hand to assist. Contact us today.
The Take Away
Have a go using some of our tips and tricks to create a clean bathtub. Rust can be difficult to remove but persevere – some stains may require more than one clean to remove completely.
If you want to call in the professionals, Soji Cleaners can do the hard work for you. Take a look at our website to browse the extensive range of services that we offer and contact us today to book an appointment. We can’t wait to work with you.