A dirty oven leads to smoke, uneven heating, lingering odors, and long-term wear on internal components. A proper cleaning routine removes baked-on grease, prevents burning smells, and improves overall cooking performance.
“Regular oven maintenance directly supports heat efficiency, food quality, and the overall lifespan of the appliance,” says Adam Hicks, founder and CEO of CooperClean, a leading cleaning company in New York City. “When an oven is cleaned correctly, it heats the way it was engineered to, resulting in better cooking performance and fewer avoidable repairs.”
This guide covers how to clean every part of your oven: racks, knobs, interior, glass door, and warming drawer, plus how to safely use self-clean and steam-clean functions.
Tools and Supplies
- Microfiber cloths
- Dish soap
- Degreaser or all-purpose cleaner
- Stainless steel cleaner (if applicable)
- Baking soda
- Distilled white vinegar
- Rubber gloves
- Heavy-duty sponge or scouring pad
- Wire brush (optional)
- Vacuum with hose attachment
- Oven cleaner (optional)
Safety and Preparation
- Turn off the oven and allow it to cool.
- Unplug the unit if possible.
- Remove racks, cookware, and stored items.
- Ensure good ventilation.
- Vacuum debris and crumbs before wet cleaning.
1. Clean Oven Knobs and Exterior Surfaces
Knobs
-
- Pull knobs straight off the control panel.
- Soak in warm, soapy water for 20–30 minutes.
- Rinse, dry thoroughly, and reinstall.
Avoid spraying cleaners directly onto the control panel.
Exterior Door and Stovetop
- Use all-purpose cleaner on enamel or painted surfaces.
- Use stainless steel cleaner for stainless finishes.
- Always wipe with a microfiber cloth to avoid scratching.
2. Clean the Oven Racks (Three Effective Methods)
Method A: Dishwasher
- Place racks in the dishwasher if they fit securely.
- Run a heavy-duty wash cycle.
Method B: Sink or Bathtub Soak
- Submerge racks in hot water with dish soap.
- Soak 1–4 hours.
- Scrub using a scouring pad or wire brush.
- Rinse and dry completely.
Method C: Degreaser or Oven Cleaner
- Spray racks outdoors or in a well-ventilated area.
- Allow dwell time according to the product.
- Scrub, rinse, and dry.
Tip: Some racks with ball-bearing glides should not be submerged. Consult your manual.
3. Clean the Inside of the Oven (Manual Method)
Step 1: Prepare a Baking Soda Paste
- Mix equal parts baking soda and water to form a spreadable paste.
Step 2: Apply
- Spread paste on the interior walls, floor, ceiling, and inner door.
- Avoid heating elements or gas ports.
Step 3: Dwell Time
- Let sit 6 hours minimum; overnight is ideal.
Step 4: Vinegar Reactivation
- Spray dried paste with vinegar.
- Wipe residue with a damp cloth.
- Repeat for heavy buildup.
Step 5: Final Rinse
- Wipe with clean water until all residue is removed.
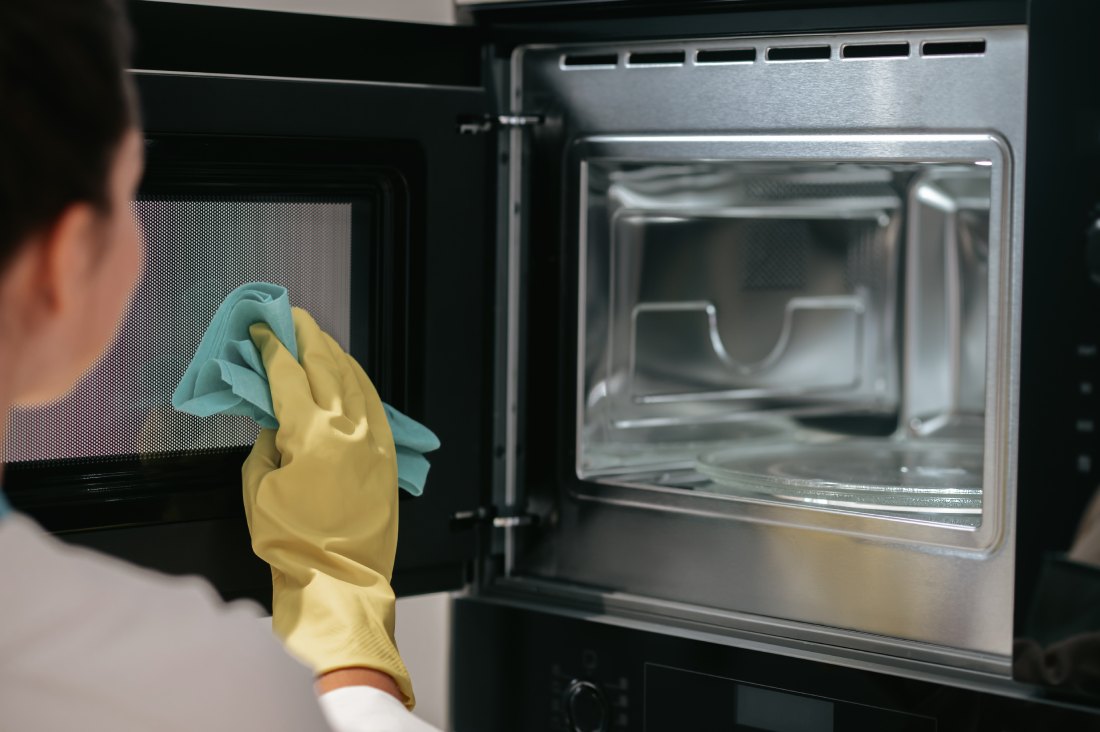
4. Clean the Oven Door (Inside and Outside)
Exterior Glass
- Use glass cleaner or stainless steel cleaner.
- Wipe with microfiber cloth.
Interior Glass
- Apply baking soda paste.
- Allow 20–30 minutes.
- Wipe clean.
- Finish with hot water and vinegar for a streak-free surface.
5. Clean the Warming Drawer
- Remove stored pans and trays.
- Vacuum crumbs.
- Wipe interior surfaces with warm, soapy water.
- Rinse and dry thoroughly.
6. Use the Self-Cleaning Function Safely
Before Starting
- Remove racks unless your oven manual states they are self-clean safe.
- Wipe out large debris.
- Ensure ventilation.
During the Cycle
- Typical duration: 3–5 hours.
- Door locks automatically.
- High heat incinerates grease into ash.
After the Cycle
- Wait until the oven is fully cool.
- Remove ash with a damp cloth.
- Do not apply water to hot glass to avoid thermal shock.
Do not line the oven with foil—this can permanently damage the enamel.
7. Use the Steam-Clean Function
Steps
- Pour 12 ounces of distilled or filtered water into the oven reservoir or bottom surface.
- Run the steam-clean cycle (usually 45–60 minutes).
- Wipe softened residue with a sponge.
- For mineral deposits, use vinegar or lemon juice on a non-abrasive scrub pad.
Steam cleaning is intended for light, recent spills.
8. DIY Steam Cleaning for Any Oven
If your oven does not include built-in cleaning modes:
- Place an oven-safe dish filled with distilled water and lemon slices inside.
- Heat to 450°F for 30–60 minutes.
- Turn off oven and allow to cool slightly.
- Wipe loosened debris with a sponge.
9. Maintenance Tips for a Cleaner Oven
- Wipe spills immediately after the oven cools.
- Avoid abrasive tools on glass or stainless steel.
- Clean racks monthly if you cook frequently.
- Deep clean the interior three to four times per year.
- Use a rimmed baking sheet beneath casseroles to catch spills.
A clean oven improves performance, eliminates odors, and helps the appliance last longer. Whether you rely on baking soda, steam, or a full self-clean cycle, maintaining your oven regularly prevents buildup and keeps cooking results consistent. By following the methods above and cleaning spills as they happen, you can keep every part of your oven,from the racks to the warming drawer in dependable condition year-round.