A new sturdy design for the home
So, you decided to engage in a new floor plan for the home, and one of the changes includes the flooring. If you’re going from a wooden floor to ceramic tiles you have much to be happy about.
Ceramic tiles are not only sturdy but they are an aesthetically pleasing look for just about any home whether it’s big or small. However, while ceramic tiles can be ideal for longevity, when it comes to maintenance it can be a bit daunting if you’re not familiar with maintenance.
Some homeowners may skip the research and just go ahead and hire a home cleaning service to take care of their ceramic tile woes. But if you’re like most that want to save your extra pennies and go easy on the wallet, you’ll want to figure out how to clean ceramic tiles floors.
Many who have ceramic tiles sometimes go years without good cleansing, this could then lead to wear and tear as well as rust accumulating on your tiles. This will turn an aesthetically pleasing room into a less than appealing bedroom space.
Another issue that occurs to uncleaned ceramic tiles is that grout starts to form between the tiles. It can be confusing for some renters that recently move into their apartment and find that some ceramic tiles look darker than others.
This means that the prior renters didn’t do a good job of maintaining the apartment or cleaning before they moved. If it doesn’t get cleaned it can grow darker and darker as the years go by.
That’s why it is critical to know the best way to clean ceramic tile floors or generally how to clean ceramic tiles to keep your floor in tip-top shape and elevate your room or home in an instant.
Here are 10 simple tips to follow when it comes to ceramic tiles:
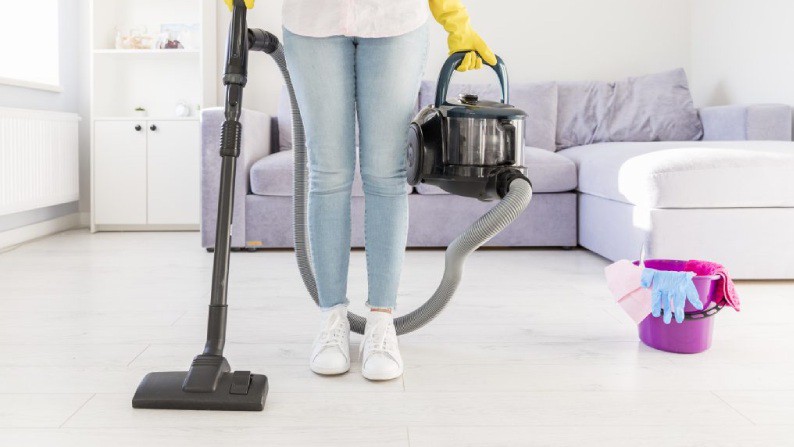
1. Vacuum
How can vacuuming help clean ceramic tile?
Although many people believe using a vacuum is for carpet floors only, it can help when it comes to cleaning ceramic tiles as well. If you’ve never cleaned your ceramic tiling or have recently moved into an apartment or home that hasn’t maintained its ceramic tiles it is difficult to evade the grout problem. Grout is years of muck, dirt, or grime that accumulates between your tiles.
Some grout can take days of scrubbing to eventually remove the dirt. We suggest using a vacuum to lessen the dirt or debris that’s accumulated. If you don’t have a vacuum you can also use a broom to glide between the cracks to help loosen the surface dirt.
This will prepare you for the following steps and lessen the physical exertion you’ll need to eliminate the grout for the best possible results. It will also make the clean-up process easier.
2. Scraping the dirt
What items can you use to scrape the grout between the tiles?
If you were able to loosen the dirt with a vacuum or broom, then this next step will be a piece of cake. First, you will need:
- Credit card
- Tooth Brush
- Plastic putty knife
- Stick substance
These objects will help you scrape the middle of the tiles to remove the dirt in the middle of the cracks with a bit of elbow grease. When using a credit card, hold at an angle going against the grout for maximum efficiency. The plastic putty knife will also be held similarly, this tool could be a safer option than using anything sharper as it is made of plastic.
If you use a sticky substance this could also benefit you by lessening the physical effort you will need to use to remove the grout. Sticky substances like goo will easily have the grout stick to them and will be exponentially safer as well.
3. Cleaning away the dirt
After removing a significant amount of dirt, how do you clean the rest?
You’ll notice that after these steps, there will still be a significant amount of dirt on the surface of the ceramic tile. Once a good amount of dirt has been removed by scraping or vacuuming the grout, the next step is cleaning away the dirt. For this you will need the following products:
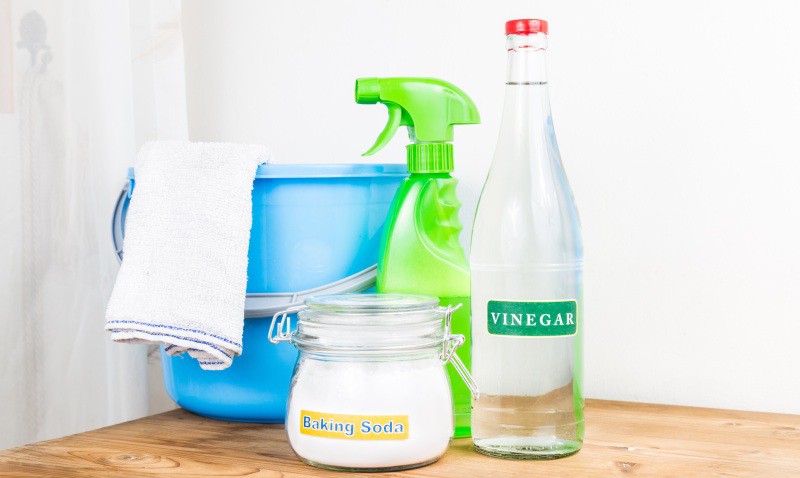
- Vinegar
- Dish soap
- Bucket
Next, you will take the bucket and fill it with hot water. After this, you’re going to need a half cup of vinegar as well as a half tablespoon of dish soap. Make sure to use a small amount of dish soap, as it will then be hard to remove leaving behind a residue that will make your tiles look lifeless.
This mixture will help when it’s time to mop your floor and will get rid of the muck left over from cleaning the tiles in between.
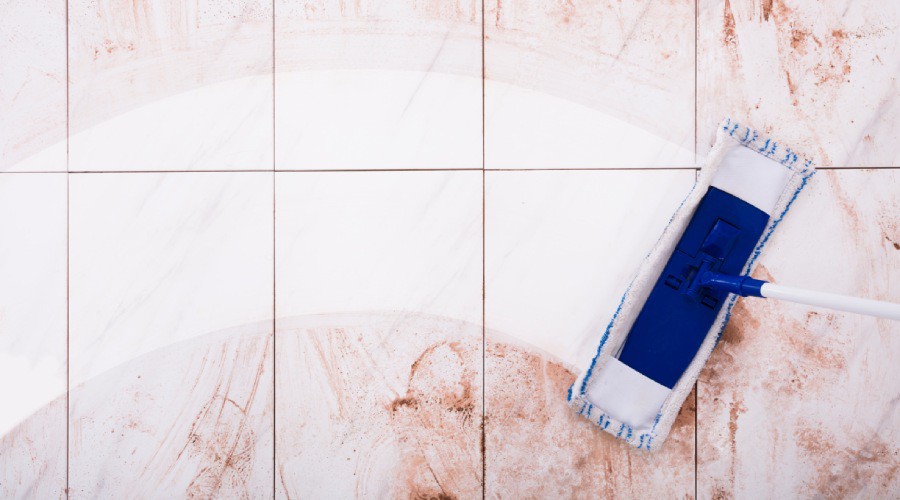
4. Mopping the floor
How can you mop the floor properly with ceramic tiles?
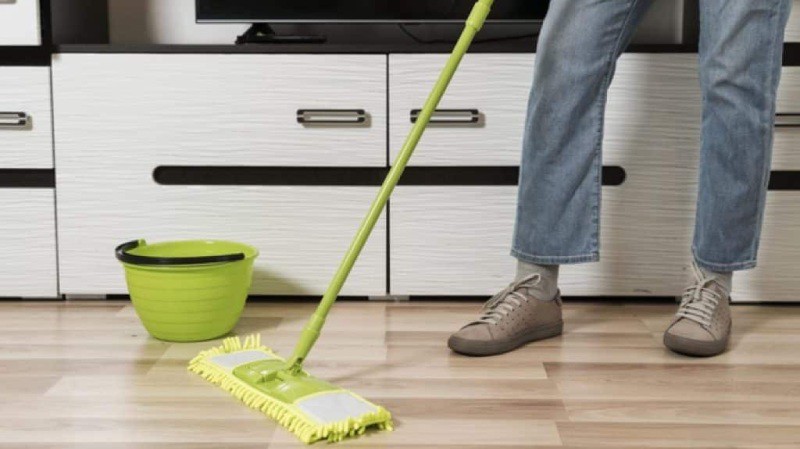
Now that you have the magic mixture that you’ll need to use for mopping, it’s time to take out the mop and start wiping away the dirt. Before you begin, it’s important to get your mop ready. If you’ve recently used your mop, you may or may not notice that there could be micro-residuals stuck to the mop.
You will need to remove the residue completely so that you can use the mixture without mixing chemicals or products. So, to do that you will need to rinse the mop head under hot water and squeeze the excess liquid from the mop. Do this a few times until the water runs mostly clear. If you get a few suds continue to rinse as much as possible.
After this, you will mop the floor with the soapy mixture. Continue mopping the area and once you’re done, go over the surface by mopping with hot water. Be sure to rinse the mop of the soapy mixture once more before doing so. This will guarantee little to no soapy residue.
5. Drying time
What is the drying process like for ceramic tiles?
When it comes to letting your ceramic tiles dry, it can take some time. Most homeowners who let their floors air dry usually come across the issue of someone stepping on the wet area unknowingly. You can prevent this issue by either speeding up the process with a fan turned on or you can simply mop again with a dry clean microfiber towel.
Not only will this allow some excess dirt to be fully removed but it will help get the job done as quickly as possible so you’re free to roam the room or home afterward. It is important that this floor maintenance gets done twice a week or once a week as dirt can accumulate easily when you have ceramic floor tiles.
That is not to say that having one is not advantageous, as it is easier to clean than other floor types. It also adds a layer of sophistication that brings an eye-catching look to your home.
6. Deep cleaning tile grout
What can you do if the tile grout persists?
Picture this: you move into a new home or apartment completely enthralled with the flooring plan, the square meter footage, and the look of the interiors. After moving in you realize that the ceramic tiles have a dark line in the middle that’s filled with layers of dirt that haven’t been washed in a long period. This could manifest as a frustrating ordeal if you don’t know how to properly wash ceramic tiling.
After sweeping, mopping, scraping, and vacuuming, the grout continues to persist. This calls for more intensive cleansing. For this, you will need the following items:
- Powdered oxygen bleach
- Spray bottle
- Scrub brush
- Nylon brush
- Old toothbrush
- Grout sealant
- Bucket
These products will help you in restoring the musty old ceramic floor tiling into the shiny and polished version.
7. Bleach
How can you use bleach to remove tile grout?
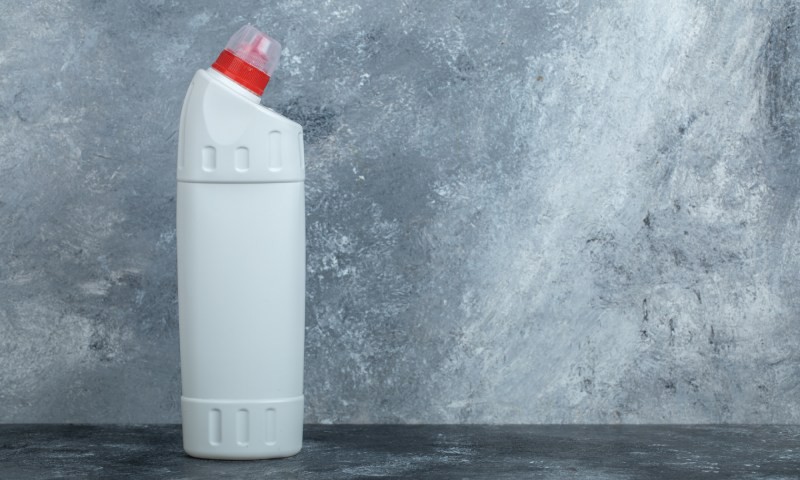
When it comes to removing years old dirt or grime that’s accumulated on any surface, there is no better chemical to use than bleach. Bleach is a powerhouse household product that works for just about any cleaning method and does the job fairly well. For persistent grout, it is just the product you will need to get your ceramic floor looking like new again.
We recommend getting powdered oxygen bleach and mixing it with a bucket of water. Follow the directions on the bottle if necessary. This bleach is slightly different from your regular bleach as it uses another chemical compound that lacks toxicity and is generally color-safe.
Since you will be needing to use a fair amount of bleach, this helps with restoring your floor without the strong odor or reactionary hazards that come with it. You’ll be able to find this bleach at any grocery store’s cleaning aisle.
8. Applying the bleach solution
How should you use the bleach solution on the tile grout?
For the application of this mixture, you will either need a spray bottle or a scrub brush. If the tile grout has accumulated over time and is incredibly persistent, we recommend using both to get efficiently rid of the dirt. Once you’ve applied the solution, we suggest waiting 30 minutes or more so that the solution can work its magic.
The more time you wait the easier it will be in removing the excess grout from the ceramic tiles. This is due to the oxygen ions in the bleach that works for up to six hours after application. Bleach can only work if you’re patient, for this time we suggest doing something that will occupy your time so that the grout can easily melt away afterward.
This process will slowly eat away at the dirt and grime that has accumulated in your ceramic tiles. It is best to wait for longer periods if the grout is excessive. In about two to three hours you will be amazed at the transformation your interiors will have with this simple procedure.
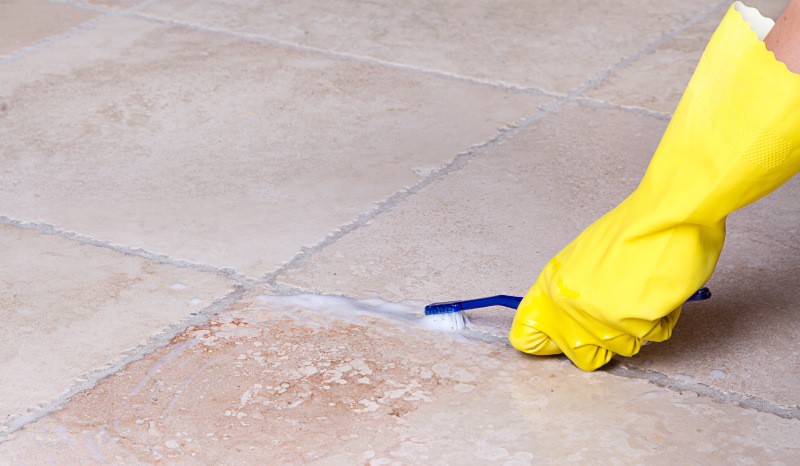
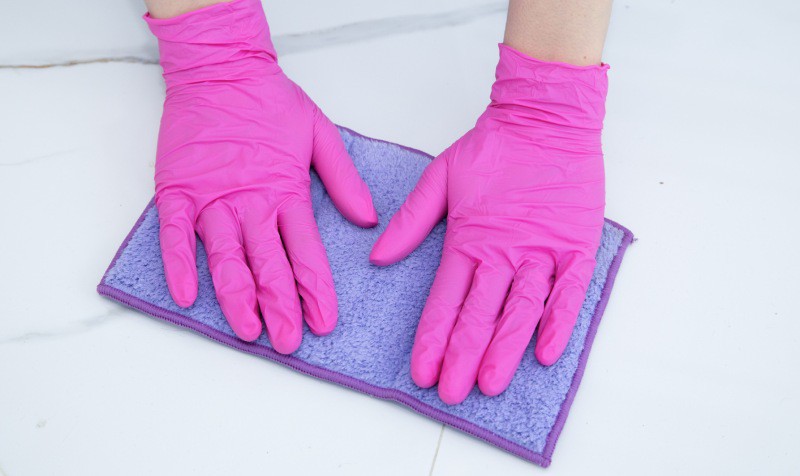
9. Scrubbing away the dirt
What is the next step after applying bleach?

Shortly after applying bleach and having it soaked for a couple of hours or a minimum of 30 minutes, you will then use a nylon brush or old toothbrush to scrub the grout from the ceramic tiles. We recommend doing one small area at a time, this will be beneficial when it comes to accuracy and efficiency in removing the grout as cleaning larger areas will make you prone to missing a spot.
As you are cleaning, you can start soaking the dirty water with a clean towel as you continue to scrub. This will help you make sure you have gotten rid of enough grout. If you see that there is still a good amount of grout after scrubbing, you can go ahead and leave a small dollop of the bleach mixture for a longer period on the problem areas to ensure that it is completely cleansed.
10. Rinse
After scrubbing the grout, what’s the next process?
Once you are done scrubbing away the grout and soaking the dirt with a towel, you will then rinse the area with clean water. Making sure that the floor is completely clear of any dirt or grime before finishing off with a dry microfiber or regular towel. Cleaning grout is a critical part of deep cleaning and we suggest doing maintenance on the ceramic tiles every two weeks to once a month.
For those homeowners who want to manage this extra work and prolong the cleanliness of their ceramic tile, there is also grout sealant. Grout sealant is an optimal sealer that works to keep the ceramic tiles clean so that you won’t have to repeat the maintenance process every so often.
If you don’t have powdered oxygen bleach at home you can use other household objects you have lying around like a mixture of white vinegar with either baking soda or lemon juice. However, we would advise using bleach as it is the most efficient way of removing the grout and works to completely dissolve the grout with an intensive amount of scrubbing.